Create Your Perfect Labeling System
Simple, practical labeling methods that help everyone in your household find what they need quickly and easily
Get Free Templates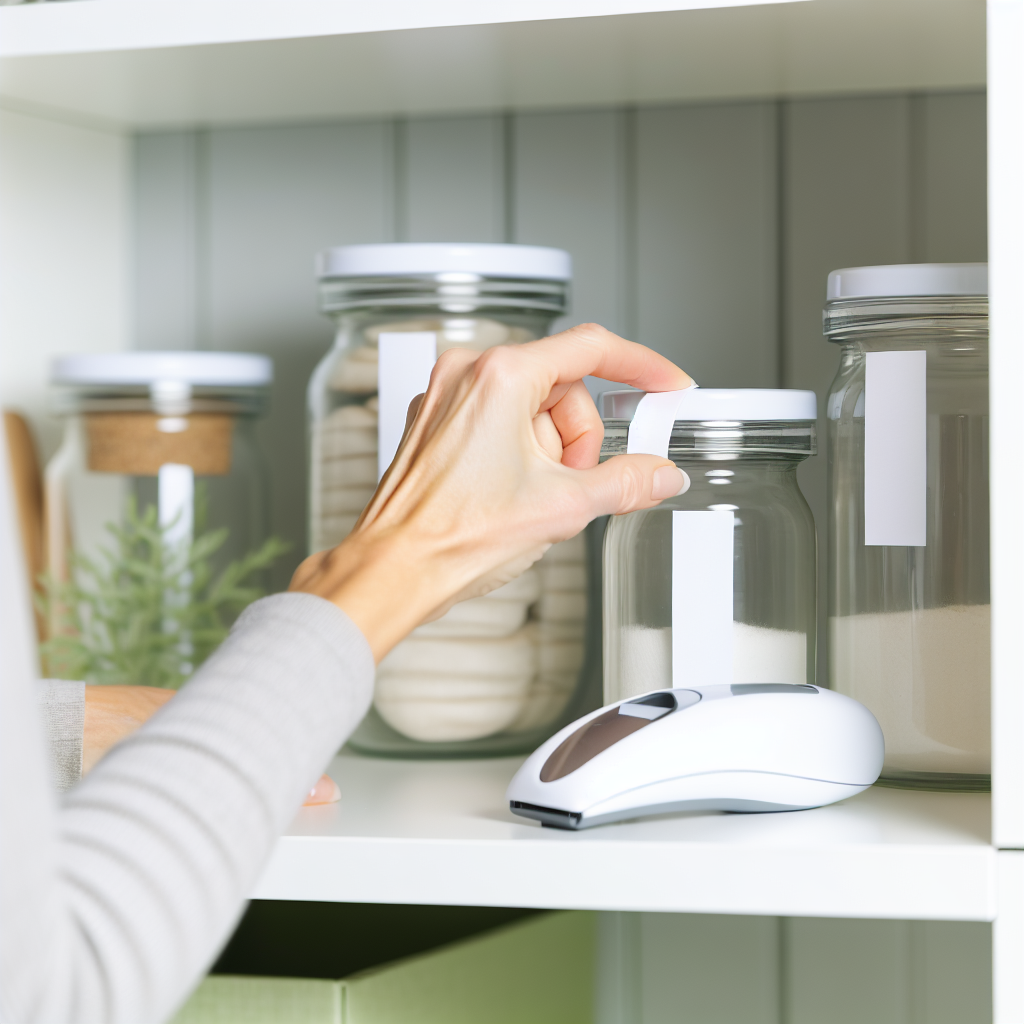
Simple, practical labeling methods that help everyone in your household find what they need quickly and easily
Get Free Templates
Choose the labeling approach that works best for your style, budget, and household needs. All methods are beginner-friendly and easy to implement.
The most budget-friendly option. Use permanent markers or pens on masking tape, painter's tape, or adhesive labels.
Create professional-looking labels with your home printer. Use our free templates or design your own.
Invest in a label maker for durable, professional labels. Perfect for long-term organization systems.
Reusable chalkboard stickers let you change labels easily. Great for households with changing needs.
Add photos or icons to labels for easy identification. Excellent for children and visual learners.
Purchase ready-made label sets with common pantry items. Quick and attractive solution.
Start with these basic supplies to create your labeling system
Permanent markers, pens, chalk markers for different label types
Adhesive labels, tape, or pre-made label sheets
Scissors or paper trimmer for custom sizes
Ruler for straight lines and uniform sizes
Use clear, easy-to-read fonts or handwriting. Avoid overly decorative styles that sacrifice legibility. The primary purpose is quick identification.
Add expiration dates or "opened on" dates for items that go bad. For bulk transfers, note the best-by date from the original package.
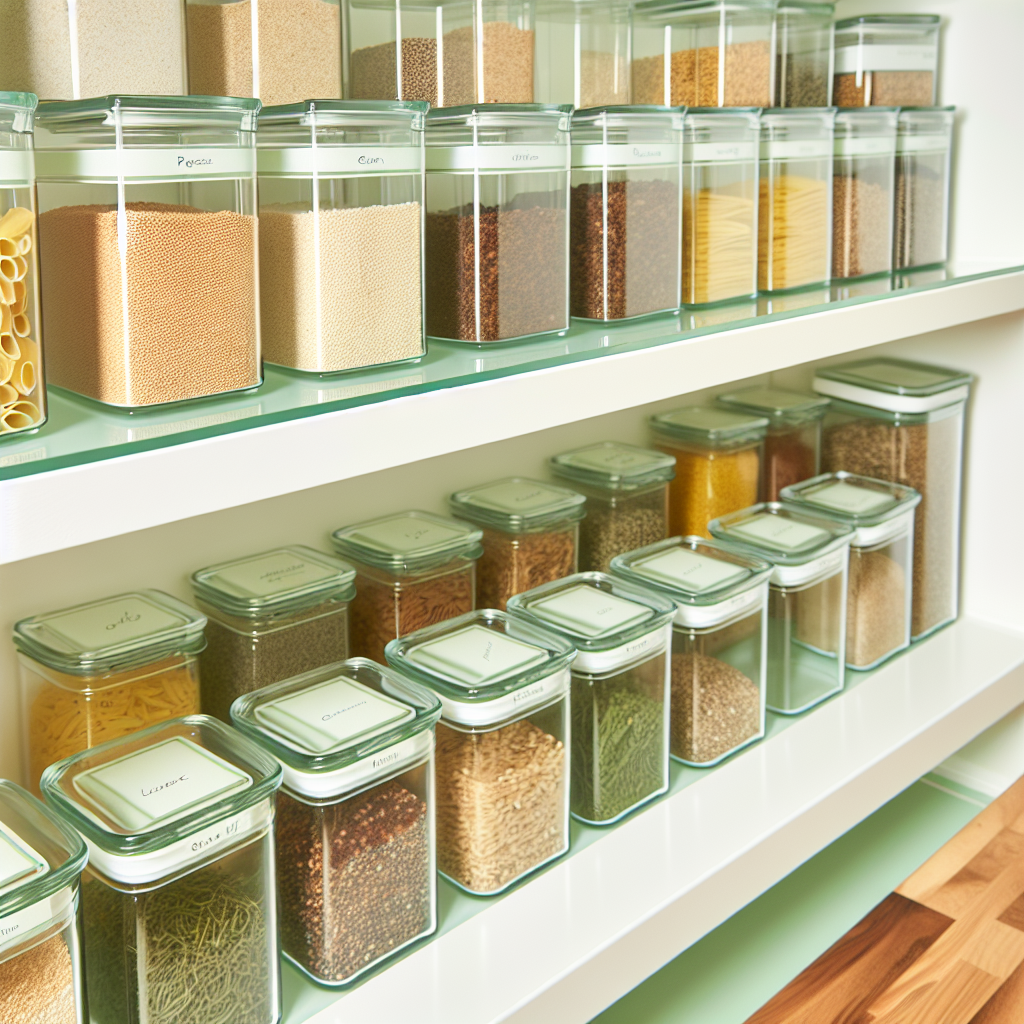
Place all labels in the same position on containers (front center, top corner, etc.). Consistency makes scanning your pantry faster.
Match label size to container size. Small containers need small labels; large bins can handle bigger, more visible labels.
If you frequently change contents, use removable labels or systems that allow easy updates without damaging containers.
Ensure labels are readable in your pantry's lighting. Use high-contrast colors (dark text on light backgrounds) for best visibility.